
Tiling a floor yourself is one of the most satisfying DIY home improvement projects — and with the right preparation and tools, it is entirely achievable for motivated beginners. Learning how to lay tile flooring correctly can save you thousands in professional installation costs and give your space a polished, custom look. This guide covers everything you need to know, from planning your tile layout to applying the finishing grout.
Tools, Materials, and Planning Your Tile Layout
Proper planning is the foundation of a successful tile floor installation. Before buying materials, calculate your floor area and add 10–15% for cuts and breakage. Choose tiles appropriate for floor use — look for a PEI (Porcelain Enamel Institute) rating of 3 or higher for residential floors.
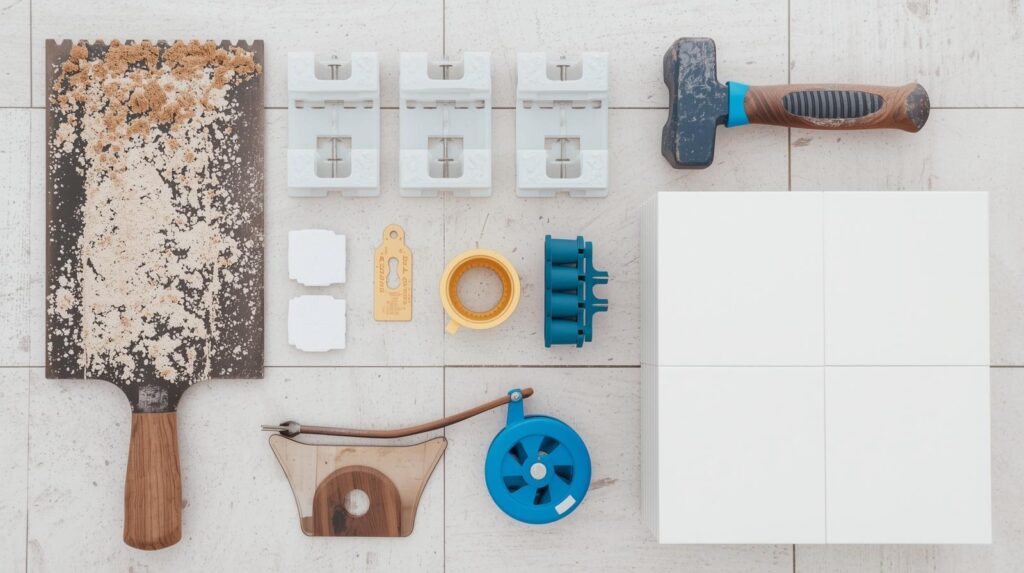
Essential tools for laying tile flooring include:
- Notched trowel (size depends on tile size)
- Tile saw or manual snap cutter
- Tile spacers
- Rubber mallet and grout float
- Level and chalk line
- Bucket and mixing paddle
- Sponges and buckets for grouting
Before purchasing tile adhesive (thinset mortar) and grout, confirm compatibility with your tile type and substrate. Large-format tiles require medium-bed mortar, while standard tiles work with regular polymer-modified thinset.
Preparing the Subfloor for Tile Installation
A structurally sound, clean, and level subfloor is non-negotiable when learning how to lay tile flooring. Tile is rigid — any flex or movement in the subfloor will cause tiles to crack and grout to crumble within months.
If tiling over a wood subfloor, the substrate must be sturdy and deflection-free. Install cement backer board (HardieBacker or equivalent) over the wood using appropriate screws and thinset, with joints staggered and taped with fiberglass mesh tape. On concrete subfloors, check for cracks, repair with concrete patching compound, and test for moisture. Grind down any high spots and fill low spots with self-leveling compound. Allow all repairs to cure fully before proceeding.
Step-by-Step Layout: Finding the Perfect Starting Point
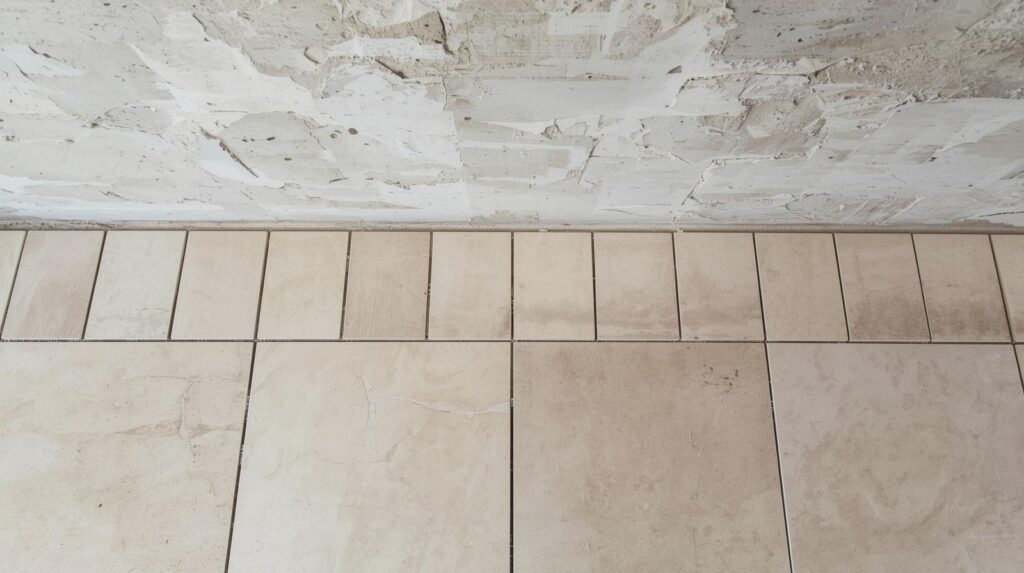
A professional-looking tile installation depends almost entirely on a carefully planned layout. Never start laying tile from a corner — walls are rarely perfectly straight, and starting from a corner almost always results in awkwardly narrow tiles at the opposite wall.
Instead, find the true center of the room by snapping two chalk lines connecting the midpoints of opposite walls. Check that the lines are perpendicular using the 3-4-5 triangle method. From this center point, do a dry layout of tiles with spacers along both chalk lines to preview the cut sizes at the edges. Adjust the layout so that edge tiles are at least half a tile wide for a balanced appearance. Mark your adjusted layout lines and begin setting tile from the center outward.
Mixing and Applying Thinset Mortar
Mixing thinset correctly is critical to a durable tile floor. Add thinset powder to clean water (not water to powder) and mix to a smooth, peanut-butter consistency. Allow the mixture to slake for 5–10 minutes, then re-mix. Properly mixed thinset should hold a notch shape without slumping.
Apply thinset to the floor with the flat side of the notched trowel first (to key it in), then comb through with the notched side at a consistent 45-degree angle. Work in small sections — no more than 2–4 square feet at a time — to prevent the mortar from skinning over. Back-butter large tiles with an additional thin layer of thinset. Set each tile firmly with a slight twisting motion, then tap with a rubber mallet to ensure full contact. Use a level frequently to keep tiles flush.
Setting Tile, Using Spacers, and Cutting Tiles
When laying tile flooring, maintain consistent grout joint widths using plastic tile spacers. Standard residential grout joints range from 1/16 inch (rectified tiles) to 1/4 inch for standard ceramic or stone. Remove spacers before the thinset fully cures — typically 2–4 hours after setting.
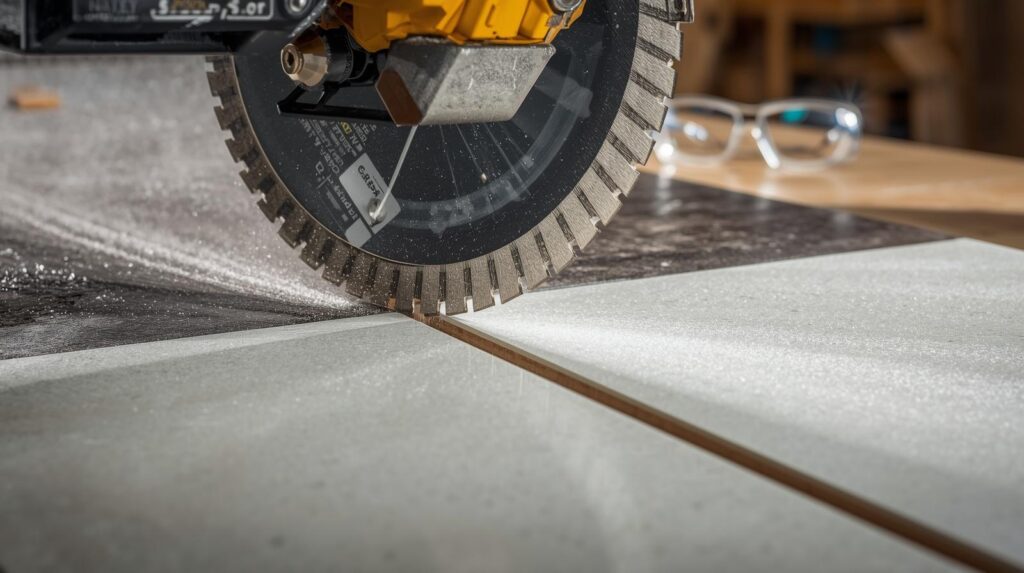
Cutting tiles is inevitable at walls and around obstacles. Use a wet tile saw for straight cuts in porcelain or stone — it delivers the cleanest, most accurate results. A snap cutter works for smaller ceramic tiles. For notches and curves (around toilets or pipes), use an angle grinder with a diamond blade or tile nippers. Always wear eye protection when cutting. Allow the thinset to cure for a minimum of 24 hours — ideally 48 hours — before grouting.
Grouting, Sealing, and Final Cleanup
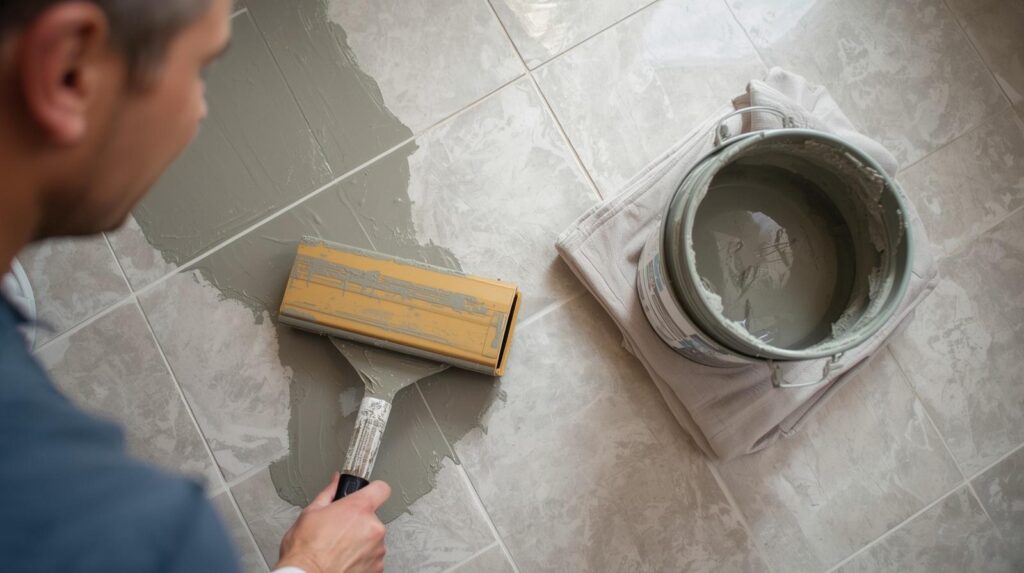
Grouting is the final step in learning how to lay tile flooring, and it dramatically affects the finished appearance. Choose between sanded grout (for joints wider than 1/8 inch) and unsanded grout (for narrower joints or polished stone). Mix grout to a smooth, lump-free consistency.
Apply grout with a rubber float held at a 45-degree angle, working it diagonally across the joints to pack them fully. Remove excess grout by wiping diagonally with a barely damp sponge, rinsing frequently. After the grout haze develops (typically 15–30 minutes), buff the tile surface clean with a dry cloth. Allow grout to cure for 72 hours before walking on the floor and 28 days before heavy use.
Finally, seal porous tiles (like natural stone or unglazed ceramic) and the grout lines with a penetrating sealer to resist stains and moisture. Proper sealing dramatically extends the life and appearance of your tile floor. Reapply sealer annually or as recommended by the manufacturer.
